

Mother's Day is a special occasion that calls for heartfelt gestures and thoughtful gifts. Whether you're a seasoned crafter or a novice in the kitchen, there's something incredibly rewarding about creating something with your own hands for the most important woman in your life. In this comprehensive guide, we'll explore a variety of creative and delicious ideas for what to make for Mother's Day that will surely impress and delight any mom.
Key Takeaways:
- Discover a range of Mother's Day crafts and homemade gifts that are perfect for showing Mom how much she means to you.
- Learn how to create easy Mother's Day recipes that will make for a memorable Mother's Day meal.
- Find out how to involve the little ones in making crafts for kids that moms will absolutely love.
1. Crafting the Perfect Gift
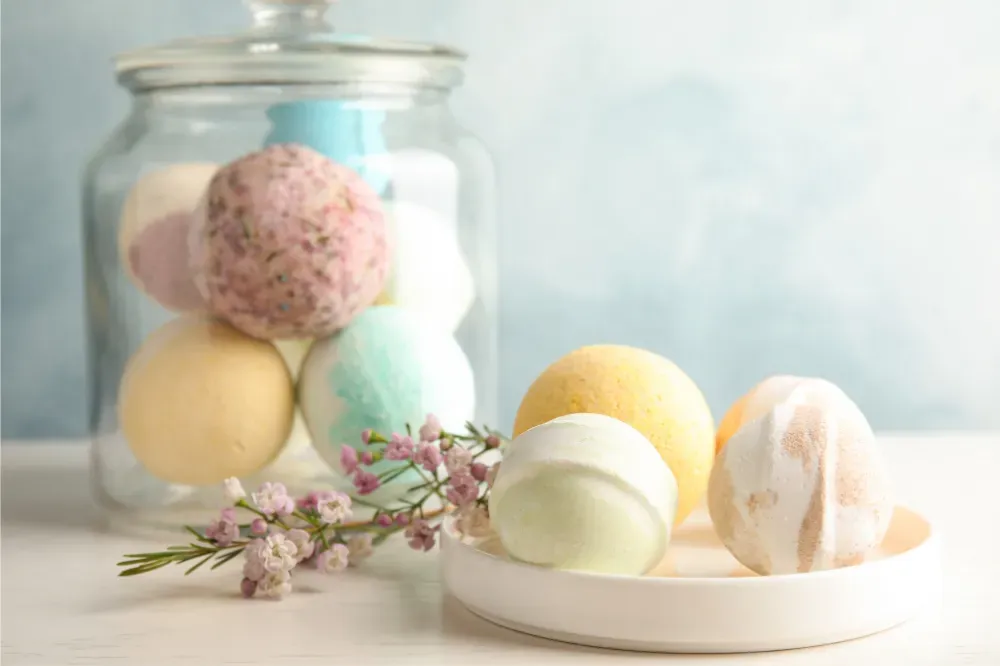
Homemade Bath Bombs for a Spa Day at Home
Creating homemade bath bombs is a fun project that can yield an excellent gift for mom. With a few simple ingredients like baking soda, citric acid, and essential oils, you can craft a luxurious spa experience right at home. In this guide, we'll walk you through the step-by-step process of creating your own heavenly bath bombs at home.
Ingredients:
- 1 cup baking soda
- 1/2 cup citric acid
- 1/2 cup Epsom salt
- 1/2 cup cornstarch
- 2-3 tablespoons melted coconut oil or almond oil
- Essential oils of your choice for fragrance
- Natural food coloring (optional)
- Dried flowers or herbs (optional) for decoration
- Bath bomb molds or silicone ice cube trays
Instructions:
- Prepare Your Workstation: Set up your workspace with all the ingredients and tools you'll need. Make sure your molds or silicone trays are clean and dry before starting.
- Mix Dry Ingredients: In a large mixing bowl, combine the baking soda, citric acid, Epsom salt, and cornstarch. Use a whisk or fork to ensure the ingredients are well incorporated and free of any clumps.
- Add Wet Ingredients: Slowly drizzle the melted coconut oil or almond oil into the dry mixture, stirring continuously. The mixture should hold its shape when squeezed together but still feel slightly crumbly.
- Add Fragrance and Color: Add a few drops of your favorite essential oils to the mixture, adjusting the amount based on your preference for fragrance strength. If desired, add natural food coloring to achieve the desired hue. Mix well to evenly distribute the color and scent throughout the mixture.
- Mold Your Bath Bombs: Fill each half of your bath bomb molds or silicone trays with the mixture, pressing down firmly to pack it tightly. If using dried flowers or herbs for decoration, place them in the bottom of the mold before adding the mixture. Press the mixture into the molds until they are overflowing, then firmly press the two halves together.
- Let Them Set: Carefully remove the bath bombs from the molds and place them on a flat surface to dry and harden. Allow them to air dry for at least 24 hours, or until they are completely firm and hold their shape.
- Store and Enjoy: Once your bath bombs are fully dry, store them in an airtight container or resealable bag until ready to use. To enjoy, simply drop one into a warm bath and watch it fizz and dissolve, releasing its fragrant oils and moisturizing ingredients into the water. Relax and indulge in your luxurious homemade spa experience!
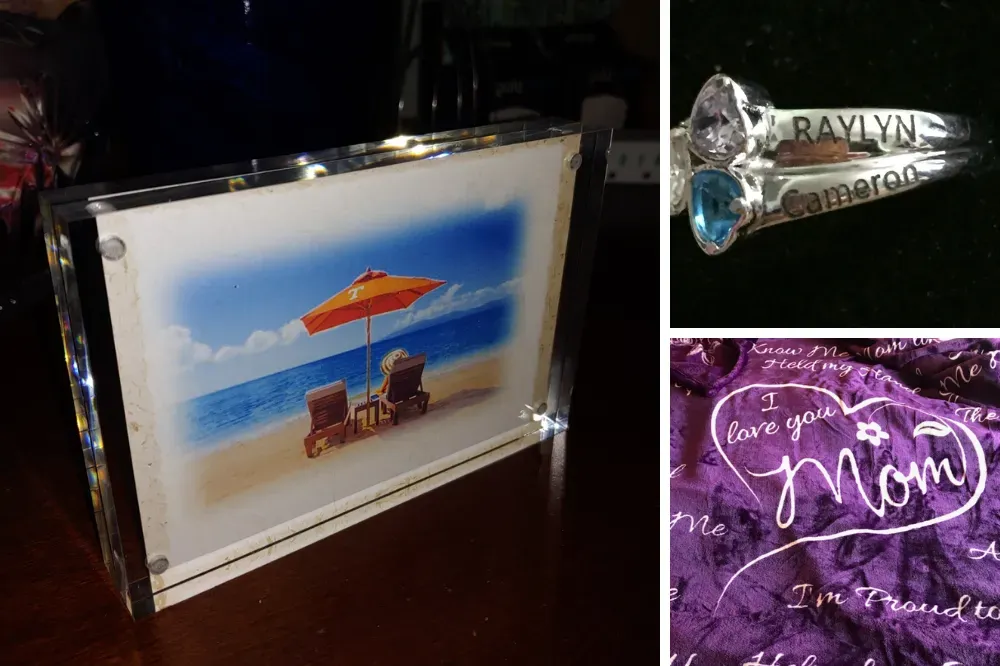
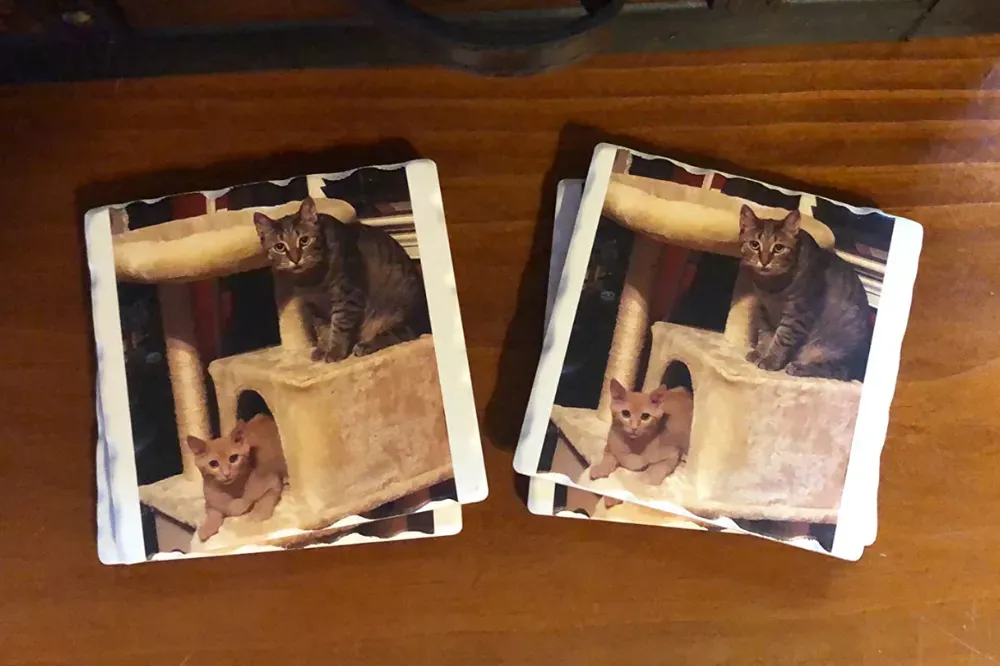
Personalized Photo Coasters
Looking for a heartfelt and personalized gift to show your mom how much she means to you this Mother's Day? Why not create a set of custom photo coasters that she can cherish and use every day? These DIY photo coasters are not only practical but also sentimental, making them the perfect way to celebrate the special bond you share with your mom. In this step-by-step guide, we'll show you how to craft beautiful and personalized photo coasters that your mom will love.
Materials Needed:
- Ceramic tiles (4x4 inches)
- Mod Podge or clear-drying craft glue
- Foam brush
- Printed photos (sized to fit the tiles)
- Clear acrylic sealer spray
- Felt pads or cork squares (for backing)
- Scissors or paper trimmer
Instructions:
- Choose Your Photos: Select your favorite photos of you and your mom to feature on the coasters. Make sure the photos are high-resolution and sized to fit the tiles with a little extra space around the edges.
- Prepare the Tiles: Wipe the ceramic tiles clean with a damp cloth to remove any dust or debris. Allow them to dry completely before moving on to the next step.
- Apply Mod Podge: Apply Mod-Podge: Use a foam brush to apply a thin, even layer of Mod-Podge or clear-drying craft glue to the surface of the tile.
- Attach the Photo: Carefully place the printed photo onto the tile, smoothing out any wrinkles or air bubbles with your fingers. Press down firmly to ensure the photo adheres securely to the tile.
- Seal the Photo: Once the photo is in place, apply another layer of Mod Podge or craft glue over the top of the photo, completely covering it and extending slightly onto the edges of the tile. This will seal the photo and protect it from moisture.
- Let Them Dry: Allow the Mod Podge or craft glue to dry completely according to the manufacturer's instructions. This may take several hours, so be patient and avoid handling the coasters until they are fully dry.
- Apply a Protective Finish: Once the coasters are dry, spray them with a clear acrylic sealer spray to add an extra layer of protection and give them a glossy finish. Follow the instructions on the spray can carefully and allow the coasters to dry completely before handling.
- Attach Backing: Once the sealer is dry, attach felt pads or cork squares to the bottom corners of each coaster to prevent them from scratching surfaces and provide grip.
- Wrap and Present: Once your personalized photo coasters are complete, wrap them up in a pretty ribbon or gift box and present them to your mom on Mother's Day. Be prepared for tears of joy as she unwraps her heartfelt and thoughtful gift!
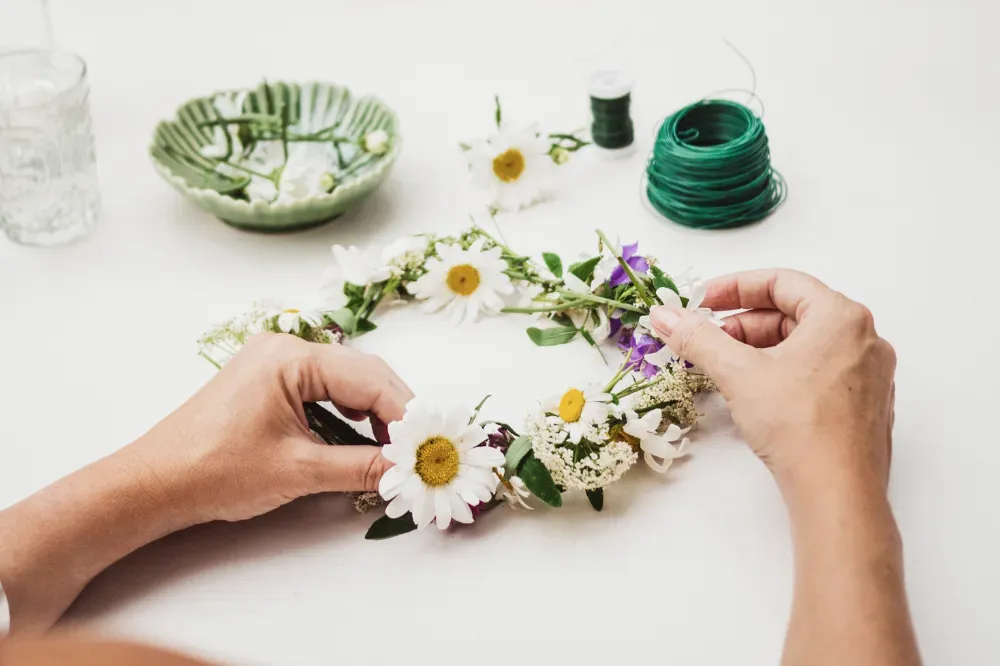
2. Mother's Day Decor
A Welcoming Wire Wreath Form for the Front Door
This Mother's Day, show your love and appreciation for Mom by crafting a beautiful wire wreath form to adorn her front door. With just a few simple materials and some creativity, you can create a personalized and welcoming wreath that will brighten her day every time she comes home. Follow along with our step-by-step instructions to make this heartfelt gift for the special mom in your life.
Materials Needed:
- Wire wreath frame
- Yarn in various colors
- Floral wire
- Scissors
- Assorted faux or fresh flowers and greenery
- Ribbon or bow
- Wire cutters
Instructions:
- Prepare Your Wreath Frame: Begin by laying out your wire wreath frame on a flat surface. This will serve as the base for your wreath. Ensure that the frame is clean and free of any dust or debris.
- Wrap Yarn Perpendicularly: Select your desired yarn colors and start by wrapping one color of yarn perpendicularly around the wire wreath frame. Secure the end of the yarn with a knot or a dab of glue to prevent it from unraveling. Continue wrapping the yarn tightly around the frame until the entire surface is covered. Repeat this process with additional colors if desired, alternating between them to create a striped or multi-colored effect.
- Attach Faux Flowers and Greenery: Once the yarn wrapping is complete, it's time to add the faux flowers and greenery to your wreath. Using floral wire, attach the stems of the flowers and greenery to the wire wreath frame, weaving them securely through the yarn-wrapped surface. Arrange the flowers and greenery to your liking, ensuring that they are evenly distributed around the wreath.
- Create a Bow or Ribbon Accent: To add a decorative touch to your wreath, create a bow or ribbon accent to hang at the bottom or top center. Cut a length of ribbon and tie it into a bow, securing the ends with floral wire. Attach the bow to the wreath frame using additional floral wire, positioning it in the desired location.
- Trim Excess Wire and Yarn: Once all elements are securely attached, use wire cutters to trim any excess floral wire and yarn, being careful not to cut any of the flowers or greenery. This will give your wreath a clean and polished appearance.
- Hang and Display: Your wire wreath form is now complete and ready to be hung on your mom's front door. Use a wreath hanger or sturdy hook to hang the wreath in the desired location, ensuring that it is securely fastened. Step back and admire your handiwork, knowing that you've created a beautiful and heartfelt gift that your mom will cherish for years to come.
Crafting Egg Carton Flowers for Home Décor
Looking for a delightful and eco-friendly way to add a dash of springtime charm to your home decor this Mother's Day? Crafting egg carton flowers is a fantastic project that not only unleashes your creativity but also repurposes materials that would otherwise go to waste. Follow our simple step-by-step guide to create stunning egg carton flowers that will brighten any space and make the perfect heartfelt gift for Mom.
Materials Needed:
- Empty egg carton
- Scissors
- Acrylic paint or spray paint
- Paintbrushes (if using acrylic paint)
- Hot glue gun and glue sticks
- Green pipe cleaners
- Green felt or construction paper
- Optional: glitter, beads, or other embellishments
Instructions:
- Prepare the Egg Carton: Start by carefully cutting out individual cups from the egg carton using scissors. Trim away any excess cardboard or rough edges to create clean and uniform flower shapes. Each cup will serve as one flower.
- Paint the Egg Carton Cups: Apply acrylic paint or spray paint to each egg carton cup, ensuring complete coverage both inside and out. Choose colors that resonate with the spirit of spring, like pastel hues or vibrant shades. Allow the paint to dry thoroughly before proceeding to the next step.
- Create Flower Petals: Using scissors, make small cuts around the top edge of each painted egg carton cup to mimic the appearance of flower petals. Be sure to leave the bottom of the cup intact to serve as the flower's center.
- Form Flower Stems: Place the green pipe cleaners parallel to each other and cut them into the desired lengths for the flower stems. Bend the top end of each pipe cleaner into a small loop to prevent the egg carton flowers from sliding off. Ensure that the pipe cleaners are parallel and aligned evenly.
- Attach Flower Petals to Stems: Apply a small amount of hot glue to the bottom inside of each egg carton cup. Immediately press the end of a green pipe cleaner into the glue, holding it in place until secure. Repeat this process for all your flowers.
- Add Leaves (Optional): Cut leaf shapes out of green felt or construction paper. Apply a dab of hot glue to the stems of your egg carton flowers and attach the leaves just below the flower heads. This will add a touch of realism and depth to your floral arrangement.
- Embellish Your Flowers: Get creative by adding glitter, beads, or other embellishments to your egg carton flowers. Apply these accents using hot glue, focusing on the center of each flower or scattered across the petals for added sparkle and charm.
- Display Your Egg Carton Flowers: Once all the elements are securely attached and the glue has dried, arrange your egg carton flowers in a vase or mason jar filled with decorative stones or beads, or wrap stems in a bow to make a beautiful bouquet. You can also attach them to a wreath, garland, or other home decor items to create a stunning centerpiece for your Mother's Day celebration.
3. In the Kitchen
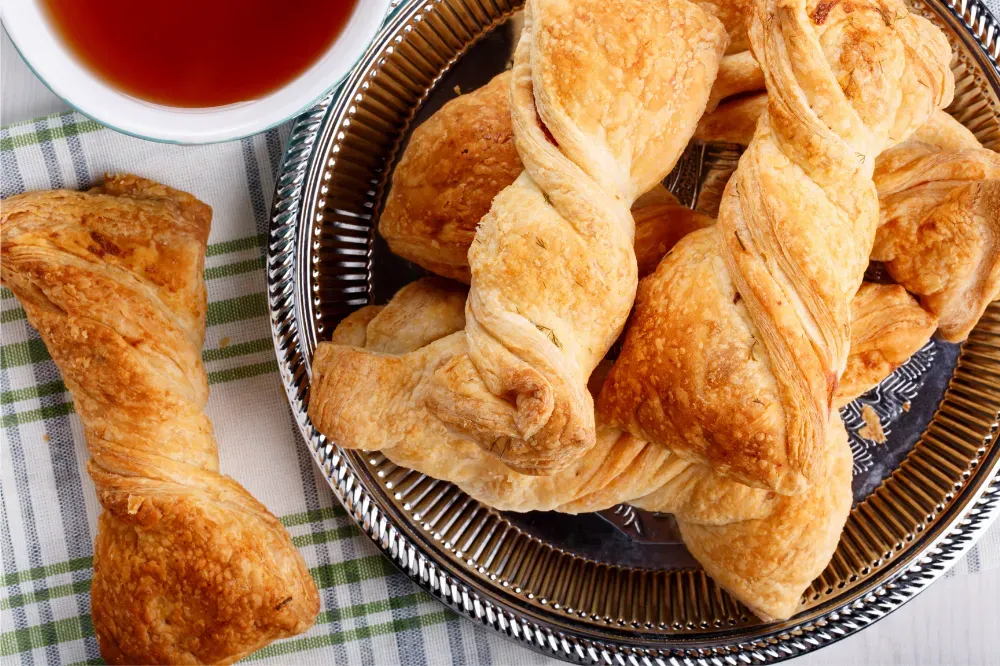
Lemon Maple Puff Pastry Twists
Bake a batch of Lemon Maple Puff Pastry Twists for a delightful treat.
Ingredients:
- 1 sheet puff pastry, thawed
- 2 tablespoons lemon juice
- 3 tablespoons maple syrup
- 1/2 cup heavy cream
- 1/4 cup sour cream
- Zest of 1 lemon
- Thinly sliced lemon rinds (for garnish)
- 1 tablespoon granulated sugar
- 1/2 teaspoon ground cinnamon
- 1 egg, beaten (for egg wash)
Instructions:
- Preheat the Oven: Preheat your oven to 375°F (190°C) and line a baking sheet with parchment paper.
- Prepare the Puff Pastry: Roll out the thawed puff pastry sheet on a lightly floured surface into a rectangle about 1/4 inch thick.
- Make the Lemon Maple Filling: In a mixing bowl, whisk together the lemon juice, maple syrup, heavy cream, sour cream, and lemon zest until well combined.
- Spread the Filling: Evenly spread the lemon maple filling over the puff pastry sheet, leaving a small border around the edges.
- Sprinkle with Cinnamon Sugar: In a small bowl, mix together the granulated sugar and ground cinnamon. Sprinkle the cinnamon sugar mixture over the lemon maple filling.
- Fold and Cut the Pastry: Carefully fold the puff pastry sheet in half lengthwise to encase the filling. Use a sharp knife or pizza cutter to cut the pastry into strips about 1/2 inch wide.
- Twist the Strips: Take each strip of pastry and gently twist it a few times to create a spiral shape. Place the twisted pastry strips on the prepared baking sheet, spacing them apart slightly.
- Brush with Egg Wash: Lightly brush the tops of the pastry twists with the beaten egg. This will help them achieve a golden brown color when baked.
- Bake: Transfer the baking sheet to the preheated oven and bake for 12-15 minutes, or until the pastry is puffed and golden brown.
- Garnish and Serve: Once baked, remove the pastry twists from the oven and let them cool slightly on the baking sheet. Garnish each twist with a thin slice of lemon rind for a pop of color and flavor.
- Enjoy: Serve these Lemon Maple Puff Pastry Twists as a delightful sweet treat for Mother's Day brunch or dessert. The combination of flaky pastry, creamy lemon maple filling, and warm cinnamon sugar is sure to impress and delight your mom!
- Storage: Store any leftover pastry twists in an airtight container at room temperature for up to 2 days. Reheat in the oven at 350°F (175°C) for a few minutes before serving to restore their crispness.
4. Engaging Activities
DIY Mother's Day Clay Bead Necklace
Get the little ones involved with easy and fun Mother's Day crafts. Make this fun DIY Mother's Day Clay Bead Necklace with the kids. This is not only a fun project but also a way for kids to express their everlasting love for mom.
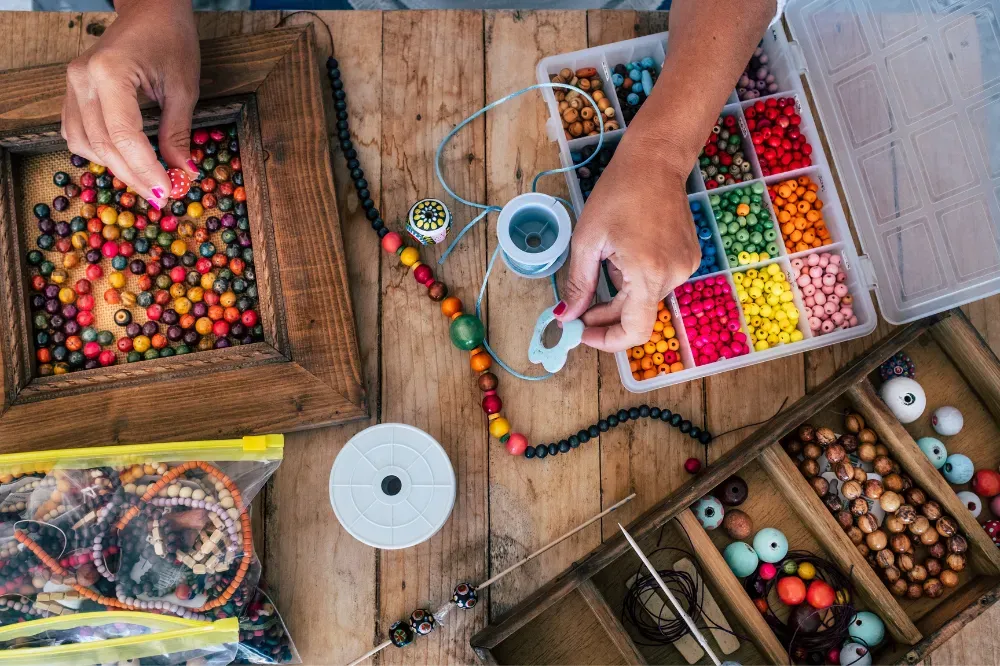
Materials Needed:
- Plastic beads (assorted colors and shapes)
- Oven-bake clay (various colors)
- Rolling pin
- Cookie cutters (optional)
- Toothpick or skewer
- Baking sheet
- Parchment paper
- String or elastic cord
- Scissors
Instructions:
- Prepare the Clay: Start by preheating your oven according to the instructions on the oven-bake clay packaging. Then, knead the clay to soften it and make it more pliable for molding.
- Shape the Clay Beads: Roll the clay into small balls, about the size of a marble. You can also use cookie cutters to create different shapes if desired. Use a toothpick or skewer to poke a hole through the center of each clay shape to create the bead.
- Bake the Clay: Place the clay beads on a baking sheet lined with parchment paper. Bake them in the preheated oven according to the instructions on the clay packaging. Once baked, allow them to cool completely before handling.
- String the Beads: While the clay beads are cooling, gather the plastic beads in assorted colors and shapes. Cut a piece of string or elastic cord to the desired length for the necklace, leaving extra length for tying knots.
- Create the Necklace: Begin stringing the oven-baked clay beads and plastic beads onto the string in any pattern or arrangement you like. Encourage the kids to get creative with their designs, mixing and matching colors and shapes to make a unique necklace for Mom.
- Tie Off the Ends: Once all the beads are strung onto the cord, tie off the ends securely with knots to hold the beads in place. You can also add a dab of glue to the knots for extra security if desired.
- Personalize and Present: If desired, add additional touches to the necklace, such as letter beads to spell out "Mom" or other heartfelt messages. Once the necklace is complete, present it to Mom as a thoughtful handmade gift for Mother's Day.
- Enjoy and Celebrate: Encourage Mom to wear her new necklace proudly and celebrate the special bond between her and the kids. This DIY project not only creates a beautiful piece of jewelry but also fosters creativity and provides a memorable activity for Mother's Day.
Cooking Together: A Mother's Day Activity
There's no better way to spend time with mom than cooking a homemade meal together. Choose a family favorite recipe or try something new that incorporates fresh herbs and edible flowers for a touch of elegance. Whether it's preparing a delicious dinner with chicken breasts and fresh salads or baking delicious desserts, the end result is a special day filled with love and plenty of flavor.
Summary
Mother's Day is the perfect opportunity to show the special woman or mother figure in your life how much she means to you. Whether it's through crafts for kids, homemade gifts, or a delicious meal, the best gifts are those made with love. Remember, it's not about the grandeur of the gift but the thought and effort that counts. Use these great ideas to create something unique that will touch your mom's heart and make this Mother's Day one to remember.
FAQ Section
Q: What are some easy DIY Mother's Day gifts I can make? A: Easy DIY Mother's Day gifts include DIY bath bombs, personalized photo coasters, and egg carton flowers. These gifts are not only thoughtful but also show that you've taken the time to create something special for your mom.
Q: Can you suggest any Mother's Day crafts that kids can make? A: Absolutely! Kids can make a variety of Mothers Day crafts such as handprint art, beaded necklaces, or painted flower pots. These crafts are simple, fun, and make for a great mother's day gift that moms will absolutely love.
Q: What are some good Mother's Day meal ideas? A: For a Mother's Day meal, consider making a fresh salad, a quiche with fresh vegetables, or a main course featuring chicken breasts or crusty bread. For dessert, try baking a pie with fresh mint or making a delicious dessert with orange zest. These dishes are sure to impress mom and make the day extra special.
 Paula Spies
 Paula Spies
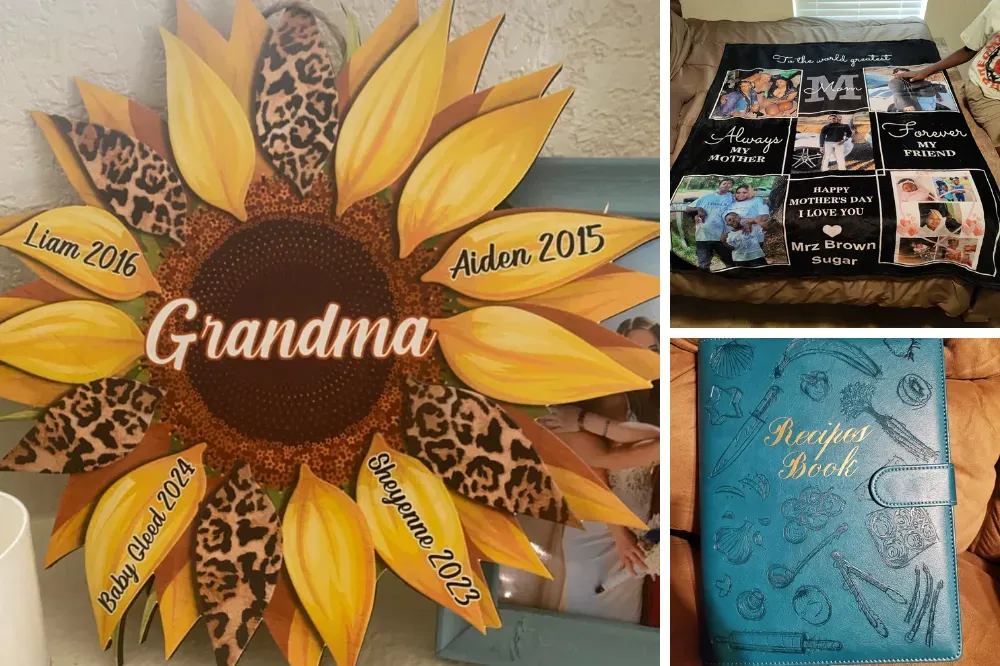 Paula Spies